Loading cart contents...
- resources /
- techniques /
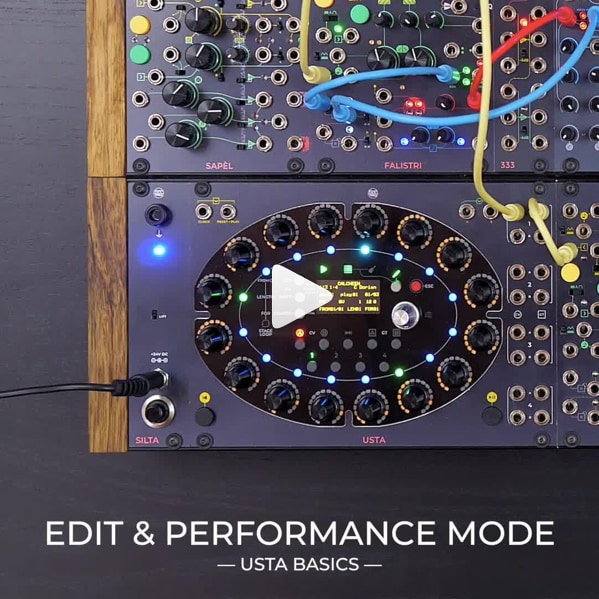
- Edit & Performance Mode
Composing and performing are closer than they seem – both in life and in USTA! Sound by an amplitude-modulated FALISTRI further processed into FUMANA.
INGREDIENTS
- 1 USTA
- 1 FALISTRI
- (Optional) 333 and FUMANA for further sound design
DIRECTIONS
- Set up a basic USTA patch as described in CV, Gate, Length, OR (optional):
- Set both FALISTRI’s generators to ‘loop’ mode.
- Set their time scale to ‘Short’.
- Tune them to taste.
- Patch the green EOR out to the first DCFD input.
- Set the DCFD output to ‘Bipolar’.
- Patch the 4QM output to FUMANA’s ODD input.
- Patch the DCFD output to FUMANA’s EVEN input.
- Patch FUMANA’s MAIN output to a CGM Channel input.
- Patch the CV A output of USTA’s track 1 to the first input of one of the 333 sections.
- Patch the first input of this 333 section to FALISTRI’s yellow V/oct.
- Patch the second input of this 333 section to FALISTRI’s green V/oct.
(Now USTA will control both oscillators). - Patch the CV A output of USTA’s track 1 to the first input of one of the 333 sections.
- Set another FALISTRI’s generator to ‘Hold’ mode and its time scale to ‘Long’.
- Patch the GT A output of USTA’s track 1 to this FALISTRI’s Trig/Gate input.
- Patch this FALISTRI’s unipolar output to the CGM Channel’s VCA CV input.
- Check the pencil LED: when red, USTA is in EDIT mode, where you can edit your sequence.
- Rotate the navigation encoder to select and edit different patterns. You will see the visual playhead only when it will cross the pattern you are currently editing.
- Check the dashboard: the third line from top will display three pattern data:
see indicates the patter you are currently editing;
play indicates the pattern that is being played;
the two numbers separated by a slash indicate the first and last patterns of the patter loop. - Push the pencil button: the LED will turn green, and you will enter Performance mode. Now the playhead will always be visible as it skims across all the patterns of the Pattern Loop. In this mode you cannot edit your patterns anymore, but you will be able to perform other operations that will be discussed in the next Techniques.