Loading cart contents...
- resources /
- techniques /
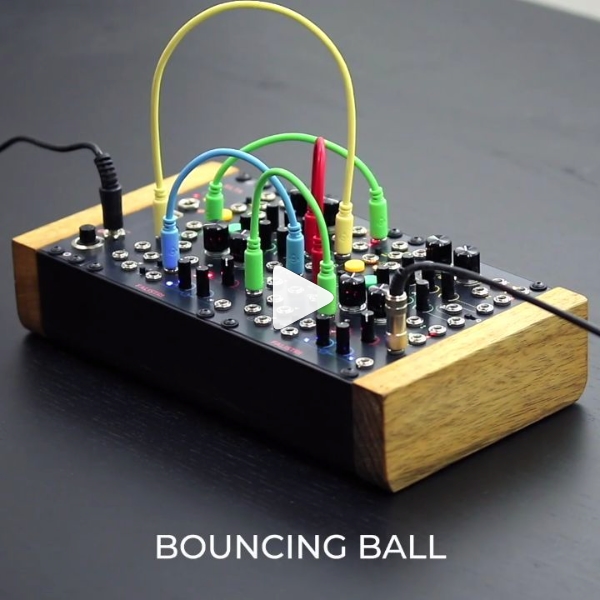
- Bouncing Ball
Summer is over, but we still want to play! In this video, we’ll see how to recreate the classic ‘Bouncing Ball’ patch – using only two FALISTRI!
INGREDIENTS
- 2 FALISTRI
DIRECTIONS
- Set both generators of the first FALISTRI in ‘Loop’ mode and their time scale to ‘Long’.
- Set the yellow generator’s ‘Rise’ knob fully counter-clockwise and its ‘Fall’ knob at 3 o’clock.
- Set the green generator’s ‘Rise’ knob fully counter-clockwise and its ‘Fall’ knob at 11 o’clock.
- Set the green generator of the second FALISTRI to ‘Loop’ mode and its time scale to ‘Short’.
- Patch the second FALISTRI’s 4QM out to your favorite output section.
- Patch the first FALISTRI’s unipolar output to the second FALISTRI’s 4QM input #1.
- Patch the first FALISTRI’s yellow inverted output to the green generator’s V/ooct input.
- Patch the yellow EOF to the green Trig/Gate input.
(Now the yellow generator will reset the green generator and control its frequency.) - Now remove the green bipolar output from the second FALISTRI’s 4QM and patch it to the first FALISTRI’s 4QM input #2.
(The yellow generator will now control also the green one’s amplitude.) - (Optional) patch the first FALISTRI’s MAX out to the V/oct input of the second FALISTRI’s green generator, or to its ‘Fall’ CV in.
(Play with different settings of the first FALISTRI’s attenuverters to obtain different “bouncing” effects.)